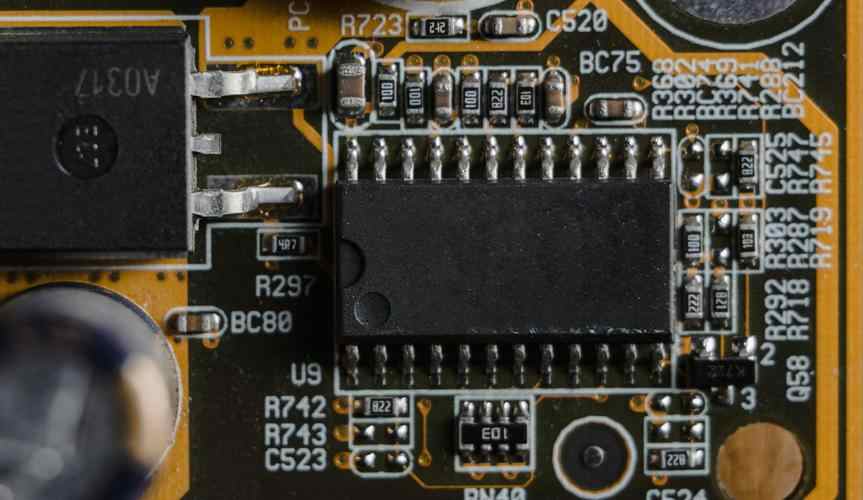
Several effective methods for disassembling integrated circuits are summarized here:
Tin suction disassembly method : The use of tin suction device disassembly integrated block, this is a common professional method, the use of tools for ordinary suction, welding dual-purpose electric iron, power above 35W. When removing the integrated block, just place the heated dual-purpose electric soldering iron head on the pin of the integrated block to be removed. After the solder joint is melted and sucked into the fine tin, the integrated block can be removed after the solder of all the pins are sucked.
Medical hollow needle disassembly method : Take medical 8 to 12 hollow needle several. When used, it is appropriate that the inner meridian of the needle just covers the pin of the integrated block. When disassembling, melt the pin solder with the soldering iron, cover the pin with the needle in time, then remove the soldering iron and rotate the needle, and pull out the needle after the solder solidifies. This allows the pin to be completely separated from the printed board. Once all the pins have been done this way, the block can be easily removed.
Electric iron brush with disassembly method: This method is simple and easy, as long as there is a electric iron and a small brush. When disassembling the integrated block, the electric iron is heated first. When the soldering tin on the pin is melted at the temperature of dissolving tin, the dissolved solder is swept away with the brush. This separates the pin of the block from the printed board. The method can be carried out separately or separately. Finally, pry off the block with pointed tweezers or a small "one" flathead screwdriver.
Add solder melting disassembly method: This method is a convenient method, as long as to add some solder to the pin of the integrated block to be disassembled, so as to connect the solder joints of each column of pins, so as to facilitate heat transfer and easy disassembly. When disassembling, each row of pins heated by electric iron should be pry with pointed tweezers or small "one" flat-head screwdriver. The two rows of pins should be heated alternately until removed. In general, each column of pins can be removed by heating twice.
Multi-strand copper wire tin removal method: is the use of multi-strand copper core plastic wire, remove plastic skin, the use of multi-strand copper core wire (can use short wire). Before use, put the rosin alcohol solution on the multiple strands of copper core wire. After the electric soldering iron is heated, put the multiple strands of copper core wire on the integrated block pin for heating, so that the tin welding on the pin will be absorbed by the copper wire, and the part that absorbs the solder can be cut off. Repeat several times and all the solder on the pin can be sucked away. Braided wire in shielded wire can also be used if possible. As long as the solder is sucked up, gently pry with tweezers or a small "one" screwdriver, the integrated block can be removed.
How to make integrated circuit board
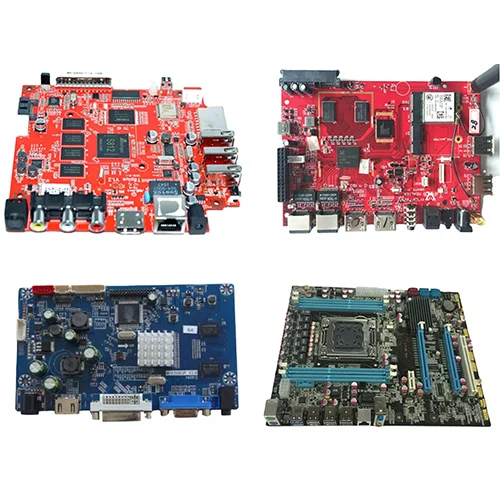
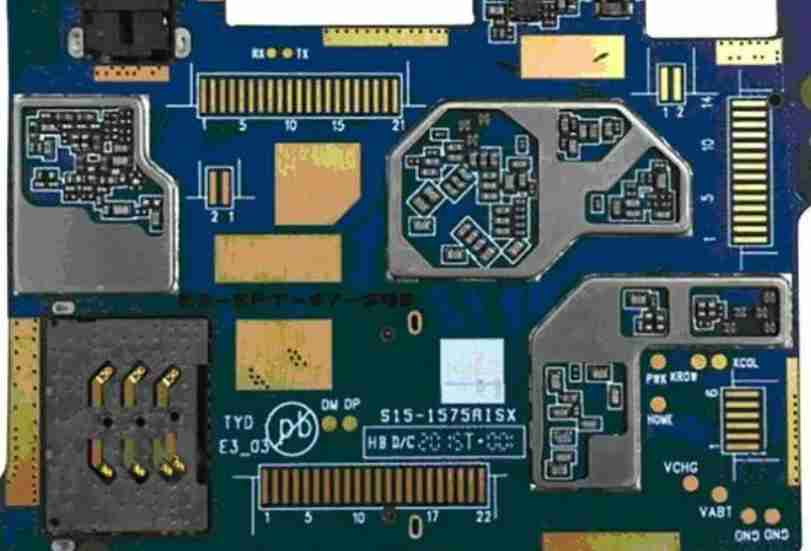
Integrated circuit board is a carrier of integrated circuit. But often said integrated circuit board also put integrated circuit belt. The integrated circuit board is mainly composed of silicone, so it is generally green. Integrated circuit board is the use of semiconductor production process, in a small monocrystalline silicon wafer production of many transistors and resistors, capacitors and other components, and in accordance with the multi-layer wiring or tunnel wiring method to combine components into a complete electronic circuit. It is represented in the circuit by the letter "IC" (also using the word symbol "N", etc.).
The detailed production process of integrated circuit board is as follows:
1. Print the circuit board. The drawn circuit board is printed out with transfer paper, noting that the slippery side faces itself. Generally, two circuit boards are printed, that is, two circuit boards are printed on a piece of paper. Select the best printed circuit board.
2, cutting copper coated plate with sensitive plate to make circuit board diagram. Copper clad board, that is, the circuit board covered with copper film on both sides, cut the copper clad board into the size of the circuit board, not too large, in order to save materials.
3, pretreatment of copper clad plate. The oxide layer on the surface of the copper-covered plate is polished with fine sandpaper to ensure that the carbon powder on the heat transfer paper can be firmly printed on the copper-covered plate when the circuit board is transferred. The standard for polishing is that the surface is bright and there is no obvious stain.
4, transfer circuit board. The printed circuit board is cut to an appropriate size, and the printed side of the circuit board is pasted on the copper clad plate. After alignment, the copper clad plate is placed in the heat transfer machine, and the transfer paper must be ensured that there is no dislocation. Generally speaking, after 2-3 transfer printing, the circuit board can be very firm transfer on the copper-covered plate. The heat transfer machine has been preheated in advance, and the temperature is set at 160-200 degrees Celsius. Due to the high temperature, the operation should pay attention to safety.
5, corrosion circuit board reflux welding machine. First check whether the circuit board transfer complete, if there are a few no transfer good place can be repaired with black oil pen. Then it can be corroded. When the exposed copper film on the circuit board is completely corroded away, the circuit board is removed from the corroded liquid and cleaned, so that a circuit board is corroded well. The corrosive solution consists of concentrated hydrochloric acid, concentrated hydrogen peroxide and water, and the ratio is 1:2:3. When preparing the corrosive solution, water should be released first, and then concentrated hydrochloric acid and concentrated hydrogen peroxide should be added. If the concentrated hydrochloric acid, concentrated hydrogen peroxide or corrosive solution is accidentally splashed on the skin or clothes during operation, it should be cleaned with clean water in time.
6. Drill holes for the circuit board. Electrical components are inserted into the circuit board, so you drill holes into the circuit board. According to the thickness of the electronic component pin choose different drilling needle, in the use of drill drilling, the circuit board must be stable, the speed of the drill can not be opened too slowly, the operation of the drill is relatively simple, as long as careful can complete very well. Please watch the operator carefully.
7, circuit board pretreatment. After drilling, polish off the toner on the circuit board with fine sandpaper and clean the circuit board with water. After the water is dried, apply the rosin water on the side with the circuit, just a thin layer, not only to prevent the circuit from being oxidized, but also rosin is a good flux. Generally speaking, the rosin water on the surface of the circuit board will solidified within 24 hours. In order to accelerate the rosin solidification, we use a hot fan to heat the circuit board, and it only takes 2-3 minutes for the rosin to solidified. The temperature of the hot fan is as high as 300 degrees. When used, the outlet can not be oriented towards combustible materials, people and small animals, or the requirement of safety first.
8. Weld electronic components. After welding the electronic components on the plate, power, function realization, production is completed.


