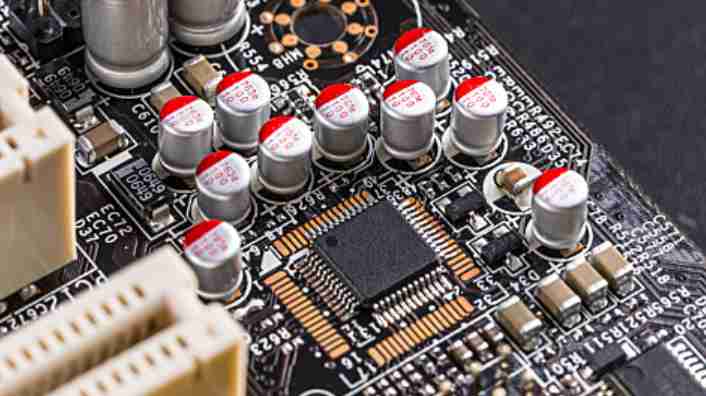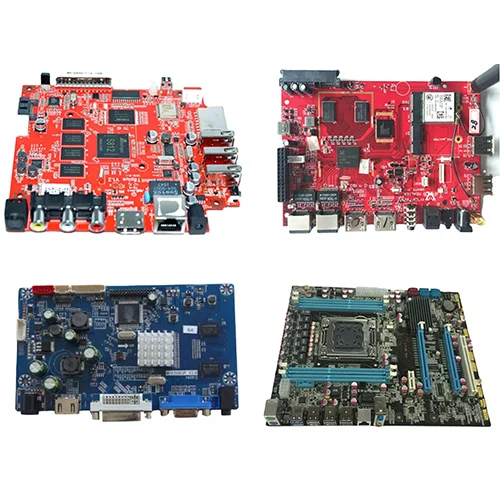
Regardless of the performance of the flux will be more or less corrosive, circuit board solder residue, residue will lead to corrosion, leakage, ion migration and other different problems. The removal of flux residue is, of course, considered an important disposal by the industry. What is the effect of treatment? There also needs to be an appropriate way to verify and trace.
The cleaning effect of circuit board soldering should be based on the amount of residual ion residue in solder joints. The specification used for the MIL is MIL-P-28809,55110, which should be tested with resistivity above 6MQ-cm. The unit area of the metal is measured, the resistivity is calculated after quantitative cleaning, and the resistance should be maintained above 2MQ-cm in terms of cleanliness.

Representative cleanliness testing methods include Ion ogurafu and omega Meter, which are recognized as a simple method to measure cleanliness in the MIL specification. The principle of any method is that the residual ionic dirt on the solder joint after cleaning is extracted through the solvent to determine its conductivity change as an indicator.
Ion ogufafu method is used to measure cleanliness by impregnating the measured metal in a solution with high resistivity (lsoburobiru arukoru75% distilled water 25%), and then extracting the ionic substances in the pollutants through the change in the conductivity of the solution. The cleanliness index is based on the sodium chloride equivalent obtained, which represents the ion contamination degree (ug NaCI/Cm2). This method cannot determine the extent of contamination if the residue is not dissolved in lsoburobiru arukoru.
Keyou Circuit is a dedicated to PCB rapid proofing and mass production, with high precision single side/double side/multilayer circuit board (1-26 layers), thermoelectric separation copper substrate, multilayer industrial circuit board, power pcb board, medical circuit board, security PCB board, communication PCB board, automotive circuit board, instrument circuit board, military circuit board, composite bus copper substrate, can be Folding metal substrate,FPC soft and hard combined board, quality assurance, delivery on time, to sales as one of the high-tech enterprises.
Quality control standards in the process of manufacturing PCB circuit boards
The quality management in the production process of circuit board manufacturers is the core part of management. Because high quality circuit boards are produced by using qualified raw materials through strict and reasonable process, inspection is only through inspection, select qualified products, pick out defective products and waste products. The quality management in the production process mainly focuses on the following aspects of work.
1. Use qualified raw materials
The main raw materials used in production shall be inspected by the quality inspection department, and shall be stamped with the inspection seal or mark. Raw materials that have not passed the inspection of the quality inspection department are not allowed to enter the production area. For some important raw materials, such as the foil-covered board should be cut according to the processing sheet, and the foil-covered board should be registered according to the table for future reference. Materials that fail to pass the inspection shall fill in the rejection form, post the rejection form on the package of the materials, and move the package to the quarantine area for storage.
2. Quality inspection in the production process
In the production process, there should be quality inspectors to check and urge the operation personnel to strictly follow the process steps, processing methods, process parameters, civilized production requirements, etc. Any deviation from the specification of the process document should be corrected immediately. Once the technical specifications are published and implemented, no individual has the right to change them at will. In case of revision, it shall be jointly revised by the engineering and technology department and the quality assurance department, and shall be executed with the official revision document of the process technical specification.
3. Quality management of semi-finished products in each process
The production of 2~5 semi-finished plates from each shift should be sent to the quality inspector for inspection and confirmation before the production can continue. The quality of the semi-finished product board produced later shall be checked by the operator, approved and signed by the process person in charge, and inspected by the quality inspector in accordance with the regulations, before handing over to the next process.
4. Finished product inspection
The quality inspector shall conduct full inspection and statistical sampling inspection according to the provisions of the technical documents. The qualified products shall be stamped with the inspector's code stamp on the appropriate position of the finished product board; A certificate from the quality inspection department should be attached to each package. Defective repair items shall be filled in by the inspector and signed by the person in charge of the inspection department before being sent back to the relevant department for countersignature. The waste shall be filled out by the inspector and signed by the person in charge of the quality assurance department before being isolated from qualified products.
5. Calibration procedures of instruments and equipment
Establish calibration procedures for instruments, gauges and equipment to ensure accuracy of measurement and good condition of equipment.
The calibration shall be carried out by an approved standard measuring institution. The quality assurance department shall register the calibrated equipment, instruments and tools and keep a calibration record book. The calibrated equipment, instruments and measuring tools shall be marked with qualified marks indicating the calibration error and date as well as the date to be calibrated next time, so as to ensure that the phenomenon of continued use without calibration will not occur after the calibration period. The quality assurance department shall formulate calibration plan and calibration cycle of instruments, equipment and measuring tools, and shall be responsible for supervising and checking regularly. If the instrument, equipment or measuring tool is damaged or its accuracy decreases, it should be ordered to stop using until it can be used after repair and calibration.


