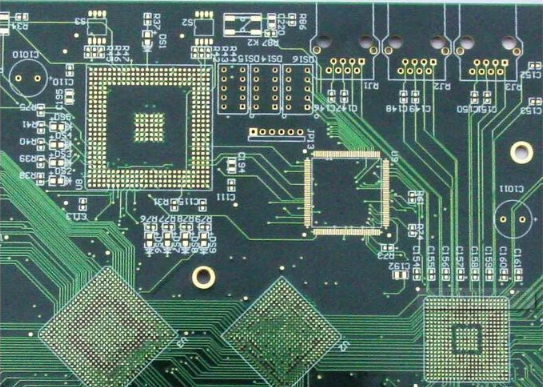
The following four methods can be used to check the PCB welding part. 1. The PCB triangulation method (light cutting method, light construction method) is generally used to check the three-dimensional shape. The triangulation method has been developed to detect the solder lead. The following four methods can be used to check the PCB welding part.
1. PCB triangulation method (light cutting method, light construction method)
The method for checking solid shape is generally triangulation. A PCB device has been developed to detect the section shape of solder lead by triangulation. However, because triangulation is observed from different directions of light incidence, in essence, this method is most suitable when the object surface is light diffusive. This method is not suitable when the solder surface is close to the mirror surface.
2. Measurement of light reflection distribution

The light reflection distribution measurement method is a representative inspection method of the commercially available PCB welding part inspection device. The light is incident from the inclined direction, and a TV camera is set above it for detection. At this time, in order to know the angle of the solder surface, it is necessary to know the angle information of the illuminated light, turn off the lights at various angles, and obtain the angle information according to the color of each light. Instead, irradiate the beam from above, measure the angle distribution of the light reflected by the solder surface, and check the inclination of the solder surface.
The light reflection distribution measurement method of this device can easily detect the angle of PCB solder surface, and the device structure is cheap. Its disadvantages are as follows: (1) Because it is necessary to use large angle lighting, the influence of element shadow is generated with high density, and sometimes it is difficult to detect; (2) Although the angle of the solder surface is known, the absolute height cannot be known. If it is integrated, the height can be calculated, but it may be unstable); (3) The detection ratio is 45. A steeper surface.
3. A method for checking images using multiple camera shots with changing angles
The inspection device has a plurality of (5 sets) cameras with changing angles and illumination composed of a plurality of LED. Usually, multiple images are used for inspection under conditions close to visual inspection, which can improve the reliability.
4. Focus detection method
The methods in sections 1 to 3 are all detection methods requiring wide solid angle. For high-density mounting substrates, this is not the desired condition. For example, the multi segment focus method can directly detect the height of the solder surface, so it is a high-precision detection method. 10 focal plane detectors are set to detect the position of the solder surface by calculating the focal plane obtained by the maximum output. The installation of 0.3mm pitch leads can be successfully checked by irradiating the object with a micro laser beam and stagger 10 focal position detectors with pinholes in the z direction. The above are some inspection methods for the welding part when we carry out external inspection on PCB.


